
Practical how-to
Under-Sink Kitchen Storage: A Practical Step-by-Step Plan
Organize the cabinet around plumbing, cleaning access, leak visibility, and the items your kitchen actually uses.
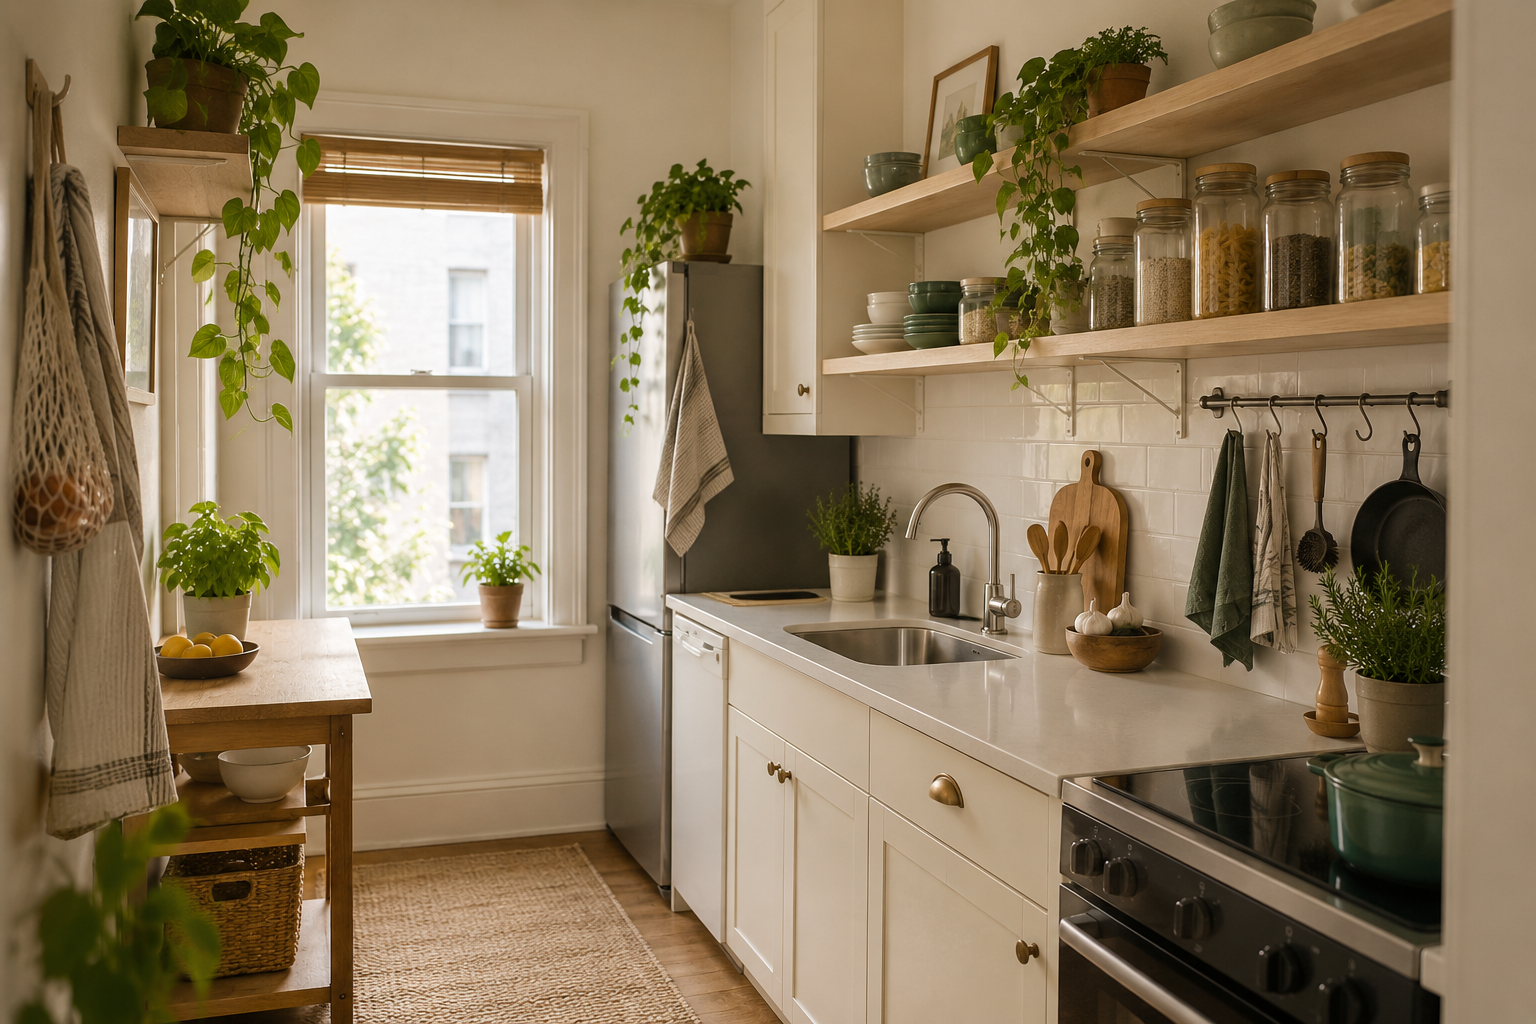
Under-sink kitchen organisation starts with the plumbing, not the containers. Pipes, valves, disposal equipment, cabinet hinges, and the possibility of a leak determine what can safely fit. A useful system keeps daily supplies reachable while preserving access to every service point.
Step 1: Empty the cabinet completely
Remove everything and group it by use: daily cleaning, occasional cleaning, waste supplies, dishwashing, and items that do not belong under the sink. Check labels and follow storage warnings, especially where children or pets may have access.
Discard empty packaging and deal with damaged or leaking containers according to their instructions. Do not combine chemicals or transfer them into unlabelled containers.
Step 2: Clean and inspect the cabinet
Wipe the base and walls, then look for moisture, staining, swelling, loose plumbing connections, or signs of pests. Organization should not conceal a maintenance problem. If something appears damaged or unsafe, address it before installing storage.
Keep valves and plumbing connections visible. A liner or shallow washable tray may make minor drips easier to notice, but it should not hide ongoing moisture.
Step 3: Measure around every obstruction
Record the cabinet’s usable width, depth, and height on both sides of the plumbing. Measure the lowest pipe, the position of the trap, disposal clearance, door hinges, and any center stile. Note how far drawers or baskets must travel to open.
Measure at the front and back because cabinet walls and plumbing are not always symmetrical. Leave working space around valves and connections.
Step 4: Decide what earns the easiest access
Keep items used every day close to the front. Occasional refills can sit farther back if they remain visible. Move bulk supplies and unrelated household products to another location when they consume the cabinet’s most useful space.
Use one small category per container. Broad labels such as “cleaning” often become a reason to mix too many unrelated items.
Step 5: Choose a layout around the pipes
Use open bins for flexible categories
Open bins can group lightweight bottles or cloths and can be removed for cleaning. The ClearSpace bins in the approved library, SK-KIT-003, are one example to consider if the verified dimensions fit. Clear sides may make contents easier to identify, but exact fit still matters more than appearance.
Use a pull-out organizer for deep access
A sliding organizer may help when supplies disappear at the back. The DEKAVA two-tier sliding organizer, SK-KIT-004, and the Kitstorack slide-out organizer, SK-KIT-005, are optional examples. Their product records indicate sliding, tiered formats; confirm current dimensions, assembly, load guidance, and pipe clearance before choosing either one.
Keep awkward plumbing space intentionally empty
Not every gap needs to be filled. Open space around valves and the trap improves visibility and makes maintenance less disruptive.
Step 6: Create three practical zones
- Daily zone: dishwashing and frequently used surface-cleaning supplies near the front.
- Occasional zone: less frequently used products grouped in a removable bin.
- Service zone: clear space around plumbing, valves, and disposal equipment.
If local safety guidance or product labels require a different storage location, follow those requirements rather than the layout above.
Step 7: Test the cabinet in real use
Open both doors fully. Remove each daily item with one hand. Slide every drawer or basket through its complete range. Confirm that nothing strikes the pipes, catches on a hinge, or blocks a valve.
Then close the doors without forcing them. A system that fits only when every bottle is positioned perfectly will be difficult to maintain.
Step 8: Label lightly and reset weekly
Use labels only where several people share the cabinet or where similar containers are easy to confuse. Once a week, return misplaced items, wipe the tray, and check for moisture. Review backup quantities before buying more.
What not to store under the kitchen sink
Follow every product label and local safety recommendation. Food, medicines, and items that should remain dry generally need another location. Avoid storing anything that could become unsafe near moisture, heat, plumbing, or household chemicals.
Common under-sink organization mistakes
- Buying a large organizer before measuring the pipe layout.
- Blocking valves or hiding evidence of a leak.
- Stacking bottles so labels cannot be read.
- Keeping bulk quantities in the cabinet’s easiest access zone.
- Assuming a bathroom organizer will fit a kitchen cabinet without checking dimensions.
Choose containers that reveal rather than hide leaks
Opaque, wall-to-wall storage can delay noticing moisture. Keep the cabinet base and pipe connections visible enough for routine checks. A removable tray may contain a small drip and simplify cleaning, but it should not be treated as a repair or allowed to conceal continuing water.
Do not line the cabinet with a material that traps moisture against damaged wood. If staining, swelling, odor, or active leakage appears, remove the stored items and address the source before rebuilding the system. Organization begins again only after the area is suitable for storage.
Plan for cabinet doors and hinges
Measure the clear opening between the hinges rather than assuming the full cabinet width is usable. Some pull-out organizers fit inside the box but strike a hinge or center stile on the way out. Mark the complete travel path with a cardboard template before purchasing.
Door-mounted storage adds weight and depth. Use it only when the product instructions, door construction, hardware, and closing clearance support the installation. Keep bottles upright and make sure they do not hit the waste bin, pipes, or shelves when the door closes.
Separate incompatible and higher-risk products
Read every label for storage, ventilation, temperature, and separation requirements. Never mix household chemicals or transfer them into food containers or unlabelled bottles. Child-resistant packaging is not a substitute for appropriate restricted access where children or pets are present.
If a product does not belong near moisture, plumbing, food-preparation areas, or other stored chemicals, move it to a suitable location. SpaceKindly’s zoning examples are organizational guidance only; the product label, local poison-control guidance, and applicable safety advice take priority.
Compare open bins with sliding organizers
An open bin is simple, removable, and flexible around irregular pipes. It works well when the entire container can be lifted out without disturbing plumbing. A sliding organizer improves access to depth, but its frame, upper tier, and drawer path demand more exact measurements.
Test the daily action. If lifting a light bin exposes everything, a complex mechanism may add little value. If the back remains inaccessible and a verified slider clears every obstruction, the pull-out format may reduce repeated reaching. Choose the simplest system that solves the measured problem.
Make room for waste and recycling only when practical
A compact bin may share an under-sink cabinet when it does not block supplies, plumbing, or cleaning. Measure the bin with its lid open and allow space to remove liners. Keep waste separated from products according to household hygiene needs and local guidance.
If the cabinet becomes crowded or difficult to inspect, relocate the bin or reserve stock. Under-sink volume is not automatically the best location for every kitchen category. Reliable access and maintenance are more important than maximizing capacity.
Adapt the system for renters
Freestanding bins and removable organizers may avoid permanent changes, but check assembly, stability, and surface protection. Adhesive accessories can affect finishes, and screws or door-mounted components may require permission. Review the lease and current product instructions before installation.
Keep original cabinet parts and avoid covering evidence of existing damage. A dated photo of the empty, dry cabinet can document the starting condition. Any active plumbing concern should be reported through the appropriate property process rather than hidden by storage.
Use a monthly under-sink audit
- Remove the front containers and inspect the cabinet base.
- Look and smell for moisture without disturbing plumbing connections.
- Check labels, closures, and containers for damage or leaks.
- Return daily products to the front and move excess backups elsewhere.
- Confirm valves and service areas remain unobstructed.
- Wipe removable trays or bins according to their care guidance.
Questions to answer before buying an organizer
- What exact category is still difficult to access after decluttering?
- What are the usable dimensions on each side of the pipes?
- Can a drawer travel fully without touching hinges, valves, or a center stile?
- Will the organizer remain removable for cleaning and maintenance?
- Does the material suit the cabinet conditions and the stored products?
- Are the current dimensions, components, and installation instructions verified?
After answering these questions, sketch the pipe positions and organizer footprint on paper. Include the drawer path and the hand space needed to lift a bin. Keep the sketch and cabinet measurements while comparing listings so similar-looking products are judged against the same limits.
Recheck measurements after any plumbing work or disposal replacement. A changed trap, hose, or fixture can make a previously suitable layout unusable even when the cabinet itself has not changed.
Finish with a photo and a simple inventory
Take a photo of the finished cabinet and keep a short list of backup supplies. The photo makes it easier to restore the layout after maintenance; the list helps prevent duplicates.
Continue with the Small Kitchen hub, explore related storage solutions, review organization systems, browse small-space solutions, or use the Guides library when you are ready to compare products.
Optional tools
Products That May Fit This Project


 Buying GuideBest Shower Caddies for Small Bathrooms
 Buying GuideBest Under-Sink Kitchen Organizers for Pipes, Bottles, and Deep Cabinets